 Skip to content
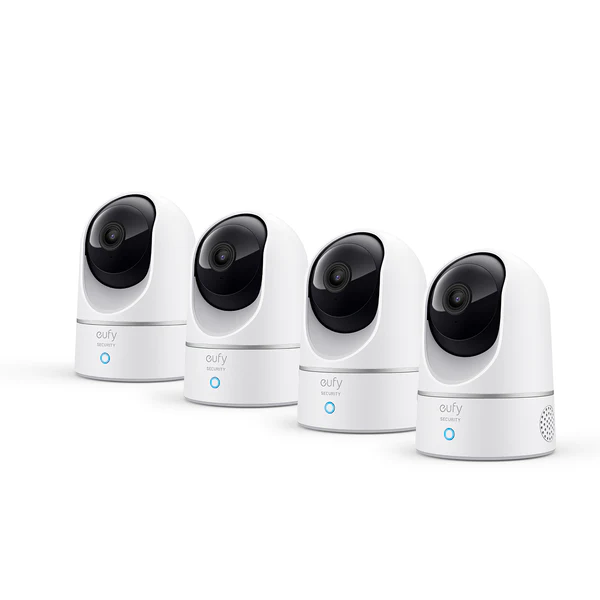
Welcome to the next generation of home security with the Indoor Cam E220! This cutting-edge indoor security camera is designed to keep your home safe and give you peace of mind.
With its advanced features and user-friendly interface, the Indoor Cam E220 is the perfect addition to your smart home setup. Enjoy crystal-clear 1080p HD video streaming, allowing you to monitor every corner of your home in real-time, day or night, thanks to its impressive night vision capabilities.
Stay connected on the go with the Indoor Cam E220’s seamless mobile app integration. Receive instant alerts and notifications on your smartphone whenever motion or sound is detected, enabling you to take immediate action if needed.
Privacy is a top priority, and the Indoor Cam E220 ensures your data is safe and secure with end-to-end encryption. You can also set up customizable privacy zones to focus the camera only on the areas that matter most.
Installation is a breeze with the Indoor Cam E220’s simple setup process. Just plug it in, connect to your home Wi-Fi, and you’re ready to go! Its sleek and compact design allows for easy placement on any surface or wall.
Invest in the Indoor Cam E220 today and enjoy the peace of mind that comes with having a reliable and high-performance indoor security camera watching over your home 24/7. Don’t compromise on safety—choose the Indoor Cam E220 for top-notch home protection.
Indoor Cam E220 Setup and Installation Guide
Step 1: Unboxing and Contents: Before diving into the setup process, make sure you have everything you need. Inside the Indoor Cam E220 package, you should find:
- Indoor Cam E220 unit
- Mounting bracket and screws
- Power adapter and cable
- Ethernet cable (if applicable)
- Quick start guide and user manual
Step 2: Finding the Perfect Spot: Selecting the optimal location for your Indoor Cam E220 is crucial to ensure it captures the desired area and provides you with the best footage. Look for a spot with a clear view of the area you want to monitor, while considering power outlet accessibility and Wi-Fi signal strength.
Step 3: Powering Up: To power up your Indoor Cam E220, plug the included power adapter into the camera’s power input port and connect it to a standard electrical outlet. Once connected, the camera should light up, indicating that it is ready for setup.
Step 4: Connecting to Wi-Fi: Using the SetupCamera mobile app (available on Android and iOS), follow the on-screen instructions to connect your Indoor Cam E220 to your Wi-Fi network. Ensure that your Wi-Fi password is correct to avoid any connectivity issues.
Step 5: Pairing with the App: After connecting the camera to your Wi-Fi network, open the SetupCamera app and select “Add New Device.” The app should detect the Indoor Cam E220 automatically. Follow the prompts to complete the pairing process.
Step 6: Adjusting Camera Angle: Once the Indoor Cam E220 is paired with the app, use the remote pan and tilt feature to adjust the camera angle. This allows you to capture the perfect view and easily monitor different areas within the camera’s range.
Step 7: Testing and Troubleshooting: After completing the setup, it’s essential to test the camera’s functionality to ensure everything is working correctly. If you encounter any issues during setup or later use, refer to the user manual for troubleshooting tips or contact SetupCamera’s customer support for assistance.
You have successfully set up and installed your Indoor Cam E220 with the help of SetupCamera’s comprehensive guide. Now you can enjoy the peace of mind that comes with having a reliable indoor security camera in your home. Feel free to explore the various features of the SetupCamera app to customize your camera’s settings and maximize its capabilities. Happy monitoring!
