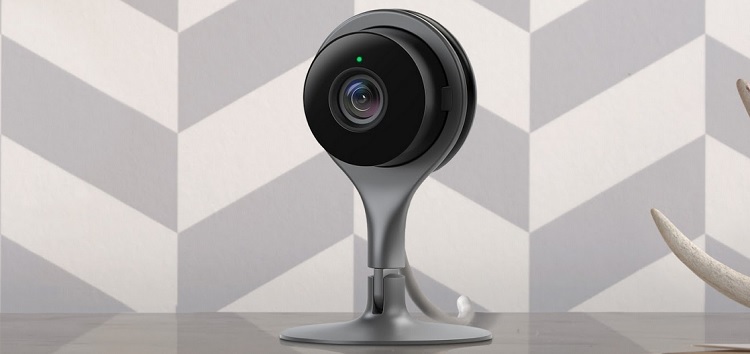
Setting up a Nest camera can be an exciting endeavor, offering you the peace of mind that comes with enhanced security and remote monitoring. However, the journey to a fully functional Nest camera system isn’t always smooth sailing. Many users encounter various error messages during the setup process that can be frustrating and confusing. In this article, we will delve into some common Nest camera setup error messages and provide you with solutions to address them.

1. “Camera Offline” Message
One of the most common error messages encountered during Nest camera setup is the dreaded “Camera Offline” notification. This error message often occurs due to connectivity issues between the camera and your Wi-Fi network. Here are steps you can take to resolve this issue:
- Check Your Wi-Fi Connection: Make sure your Wi-Fi network is stable and working properly. Restart your router if necessary.
- Camera Placement: Ensure that the camera is within a reasonable range of your Wi-Fi router. Thick walls, large distances, and interference can weaken the signal.
- Restart the Camera: Try restarting the camera by unplugging it for a few seconds and then plugging it back in.
- Reset Network Settings: If the issue persists, you can reset the camera’s network settings and set up the connection from scratch.
2. “Cannot Connect to Wi-Fi” Message
Encountering a “Cannot Connect to Wi-Fi” message can be frustrating, especially when you’re eager to get your camera up and running. This error often stems from incorrect Wi-Fi credentials or interference issues.
- Check Wi-Fi Password: Double-check that you’re entering the correct Wi-Fi password during setup. Typos or capitalization errors can lead to authentication failures.
- Interference and Channels: Wi-Fi signals from other devices or neighbors’ networks can interfere with your camera’s connection. Use the Nest app to scan for optimal Wi-Fi channels and adjust your router settings accordingly.
3. “QR Code Scan Failed” Message
The “QR Code Scan Failed” message occurs when the Nest app struggles to scan the QR code on your camera during the setup process. This code is crucial for syncing the camera with your account.
- Clean the Lens: Ensure the camera’s lens is clean and free from smudges or dirt that might hinder the QR code recognition.
- Proper Lighting: Make sure you have adequate lighting in the room. Poor lighting conditions can hinder the app’s ability to read the QR code.
- Manual Entry Option: Some setups offer a manual entry option for the camera’s serial number. If QR code scanning fails repeatedly, you can enter this information manually.
4. “Camera Firmware Outdated” Message
Firmware updates are essential for the security and functionality of your Nest camera. If you encounter a “Camera Firmware Outdated” message, follow these steps:
- Check for Updates: In the Nest app, ensure your camera’s firmware is up to date. If an update is available, proceed with the update process.
- Power Cycle the Camera: After updating the firmware, power cycle the camera to ensure the changes take effect.
Conclusion
While encountering error messages during your Nest camera setup can be frustrating, rest assured that these issues are usually solvable with some patience and troubleshooting. By following the steps outlined in this guide, you can address common error messages and successfully set up your Nest camera for enhanced security and peace of mind.
If you find yourself stuck despite following these steps, don’t hesitate to contact Setup Camera, where experts can guide you through the troubleshooting process and help you get your Nest camera up and running seamlessly. Remember, a little persistence goes a long way in ensuring a secure and efficient camera system for your home or business.
